A ceiling leak is often treated like a cosmetic issue because the first visible sign is usually a stain. In reality, by the time you see discoloration, water may already be in insulation, framing, and nearby wall cavities. The right response in the first few hours can prevent a routine repair from turning into a mold and reconstruction project.
For immediate local dispatch, use Water Damage Restoration in Oceanside.
Step 1: Make the Area Safe
- Keep clear of bulging or sagging drywall.
- Avoid any area where water is close to lighting fixtures.
- Place buckets to limit floor spread if active dripping is present.
Step 2: Stop the Source
If it is plumbing-related, shut off local or main water. If it appears weather/roof related, prioritize protecting contents and call mitigation.
Step 3: Protect Belongings and Flooring
Move furniture, electronics, artwork, and textiles out of the impact path. Use floor protection in traffic zones to reduce spread.
Step 4: Document Before Disturbing Materials
Take photos and videos before opening ceilings or removing wet materials. This helps claim clarity and reduces disputes about cause and extent.
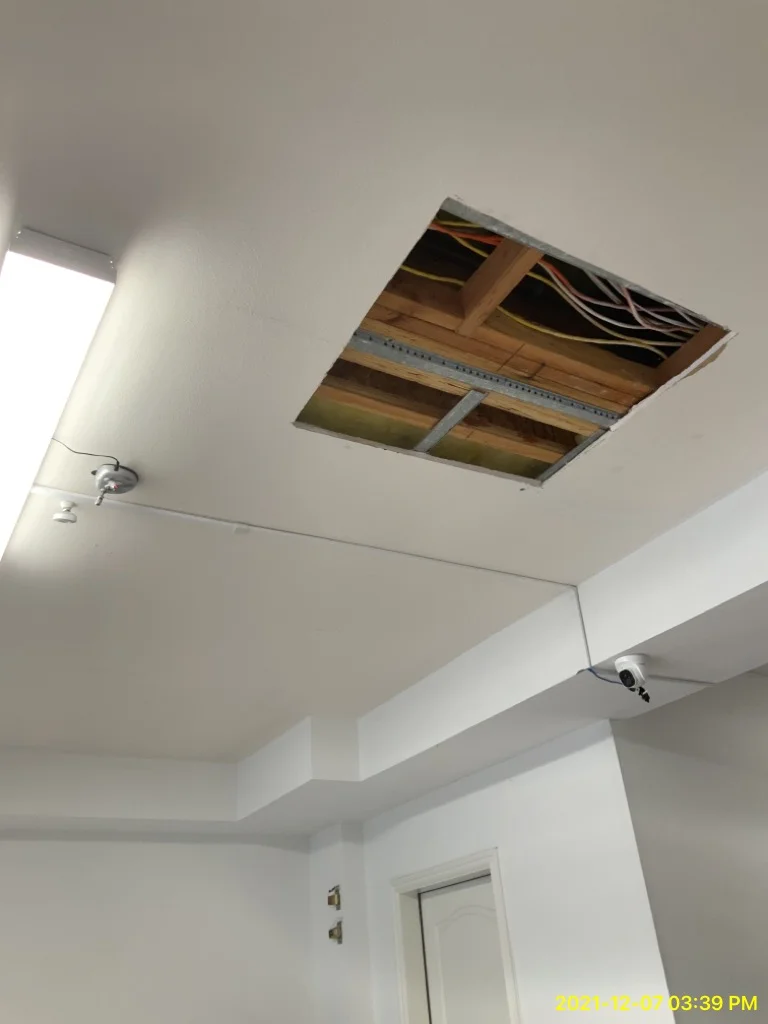
Step 5: Assess Hidden Moisture Risk
Ceiling leaks frequently spread laterally. You may have wet areas in:
- Adjacent wall sections
- Insulation pockets
- Flooring directly beneath the leak
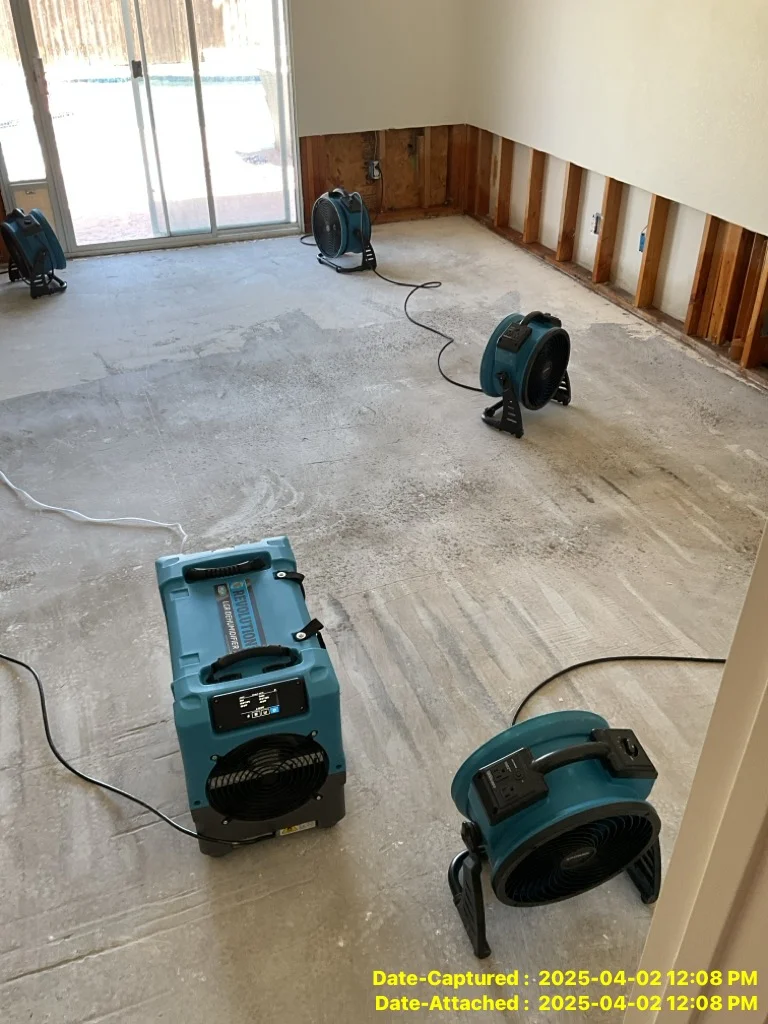
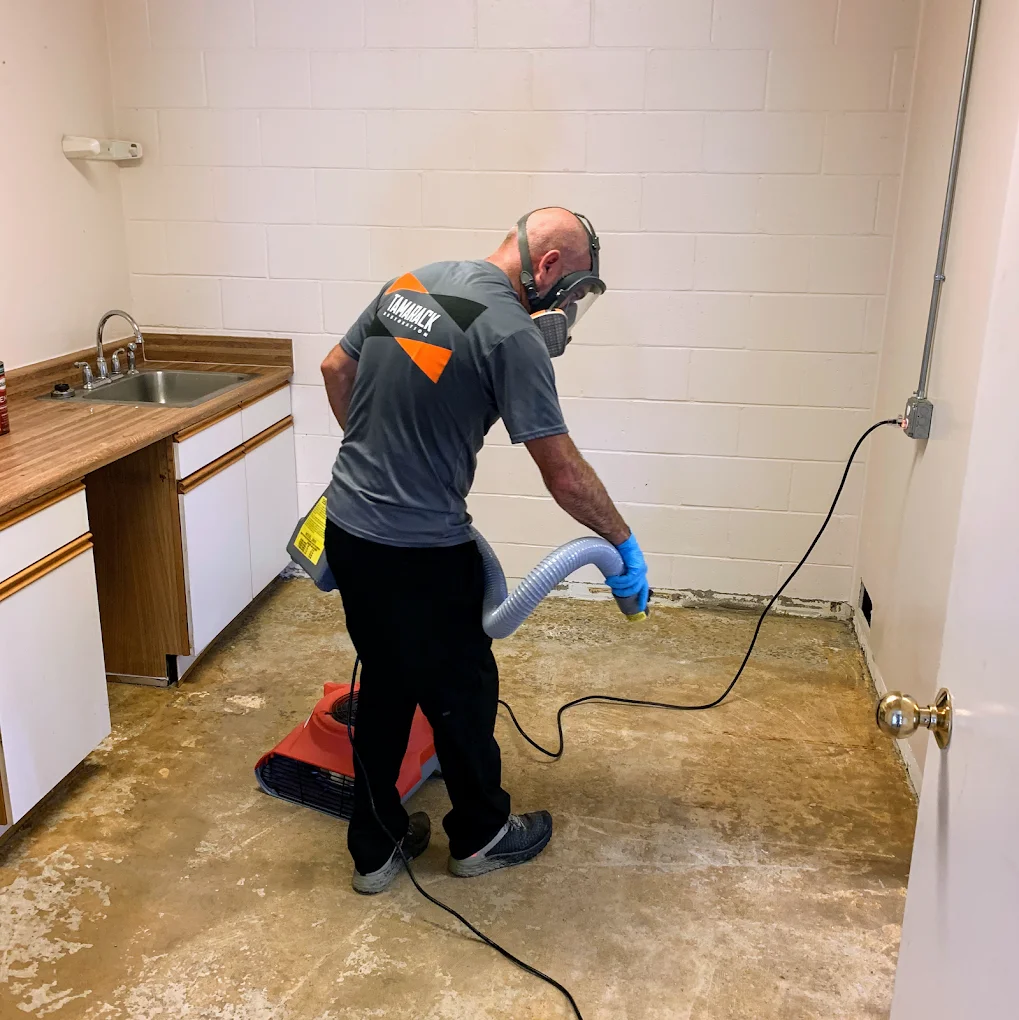
Step 6: Start Controlled Drying
Fans alone are rarely enough for enclosed moisture. Professional Water Damage Restoration includes extraction, moisture mapping, and dehumidification.
Step 7: Confirm Leak Origin and Repair Path
Unknown sources should be traced with Water Leak Repair diagnostics before closing ceilings.
Step 8: Watch for Mold Indicators
- Musty odor within 24–48 hours
- Spotting around seams or corners
- Reappearing stains after basic cleanup
If those appear, move quickly to Mold Removal.
Step 9: Verify Dryness Before Rebuild
Do not repaint or close assemblies until drying goals are met. Appearance is not proof of structural dryness.
Why Oceanside Ceiling Leaks Escalate Quickly
Homes with coastal humidity and intermittent weather events can hold moisture longer, especially in enclosed ceiling spaces. Delayed action increases:
- Material replacement scope
- Drying time and cost
- Probability of odor and microbial amplification
City + Service Links
- Water Damage Restoration in Carlsbad
- Water Damage Restoration in Vista
- Water Damage Restoration in San Marcos
Related Guides
- 7 Warning Signs of Water Damage in Your Home
- How to Handle Water Damage Emergency in the First 24 Hours
Final Takeaway
A ceiling leak is a structural moisture event, not just a paint problem. Fast source control, moisture diagnostics, and professional drying are the most reliable way to prevent mold and control total restoration cost.
What a Complete Ceiling Leak Scope Should Include
A complete scope for ceiling leak water damage should identify:
- Primary source and route of water travel
- Affected drywall, insulation, and framing zones
- Secondary room impacts (walls/flooring below the leak)
- Drying plan by material type
- Rebuild prerequisites after dry verification
Ceiling Leak Triage: What to Prioritize First
When multiple problems happen at once, use this order:
- Safety and hazard isolation
- Source control
- Documentation
- Controlled mitigation and drying
- Repair planning
This sequence prevents rushed cosmetic fixes that hide unresolved moisture.
Signs the Leak Is More Extensive Than It Looks
- Staining appears in multiple ceiling zones
- Adjacent wall corners show dampness
- Flooring below the leak becomes soft or cupped
- Odor increases after initial drying attempts
These signs often indicate lateral spread through concealed pathways.
Repaint vs Rebuild Decision Criteria
Repaint-only is appropriate only when source is fixed and materials are verified dry and stable. If ceiling drywall or insulation remains compromised, replacement is usually the safer long-term option.
Contractor Coordination Tips
If separate teams are involved (roofing/plumbing/restoration):
- Keep one shared timeline of actions
- Confirm source repair completion in writing
- Require moisture verification before close-up
- Document any scope changes immediately
Good coordination prevents duplicated work and schedule delays.
Seasonal Maintenance to Reduce Repeat Ceiling Leaks
After restoration, prevention matters as much as repair. Homeowners can reduce recurrence by:
- checking roof penetrations and flashing condition seasonally,
- monitoring attic humidity and ventilation performance,
- inspecting plumbing fixture connections in upstairs wet rooms,
- responding early to even small stain changes.
Practical Closeout Standards
Before considering the issue closed, confirm:
- source cause is verified and corrected,
- affected assemblies are dry,
- any replaced sections are documented,
- no active moisture trend remains on follow-up checks.
A disciplined closeout protects against repeat leak cycles and helps avoid future cosmetic-only repairs that fail again.