A burst pipe can release hundreds of gallons in a short period, which is why this is one of the highest-urgency water damage scenarios. The objective is not just stopping visible water — it is preventing hidden saturation, structural deterioration, and prolonged downtime.
For immediate local response, visit Water Damage Restoration in Carlsbad.
First 30 Minutes: What to Do
- Shut off the main water line.
- Isolate electrical risk areas if safe.
- Move valuables and sensitive contents.
- Photograph all visible damage.
- Contact emergency mitigation and source repair professionals.
If the source location is unclear, request Water Leak Repair diagnostics immediately.
Professional Burst Pipe Process
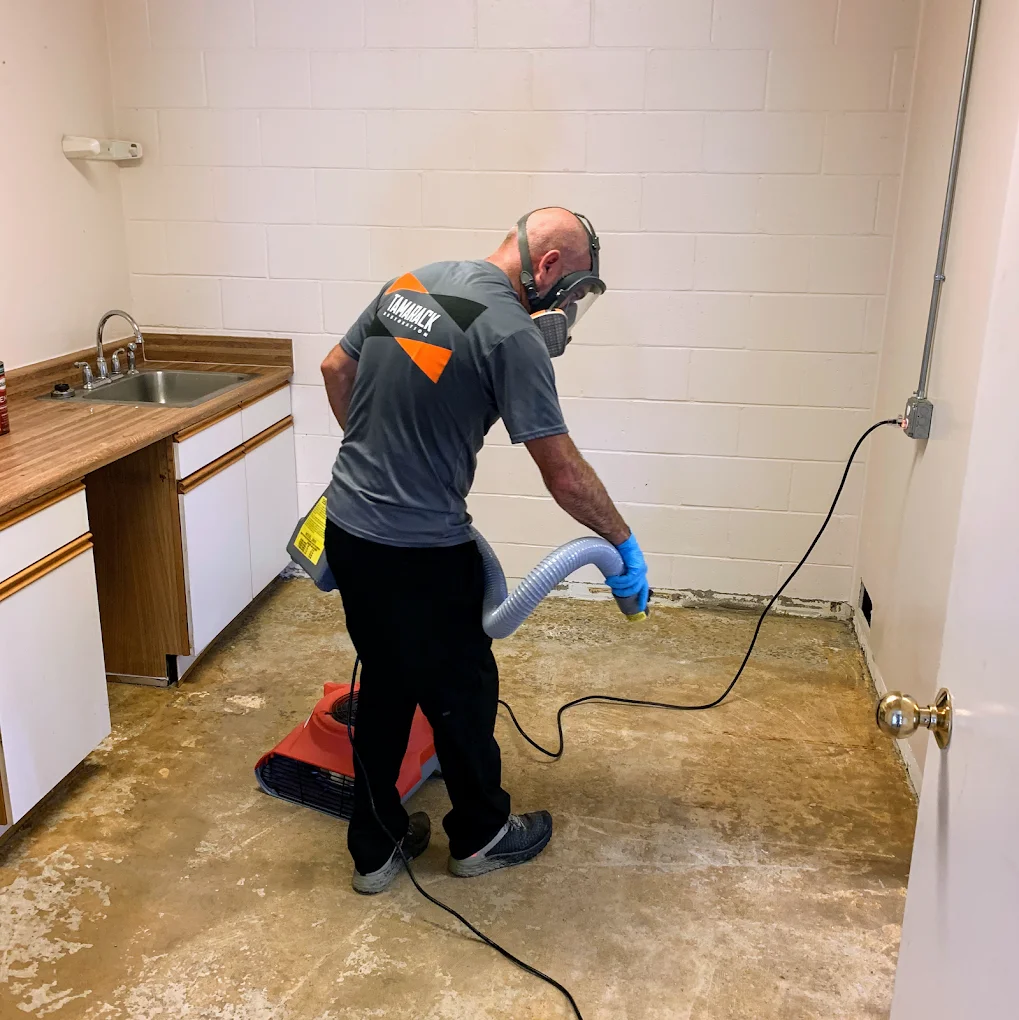
Phase 1: Emergency Mitigation
- Source confirmation and hazard assessment
- Standing water extraction
- Initial moisture mapping of affected assemblies
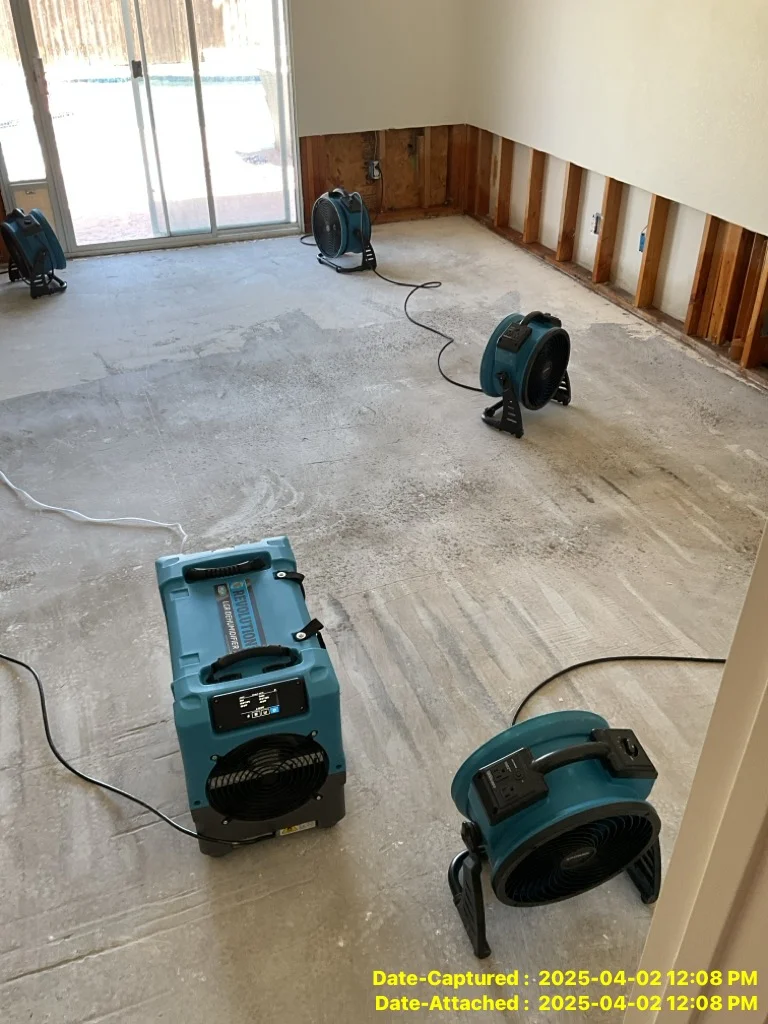
Phase 2: Structural Drying
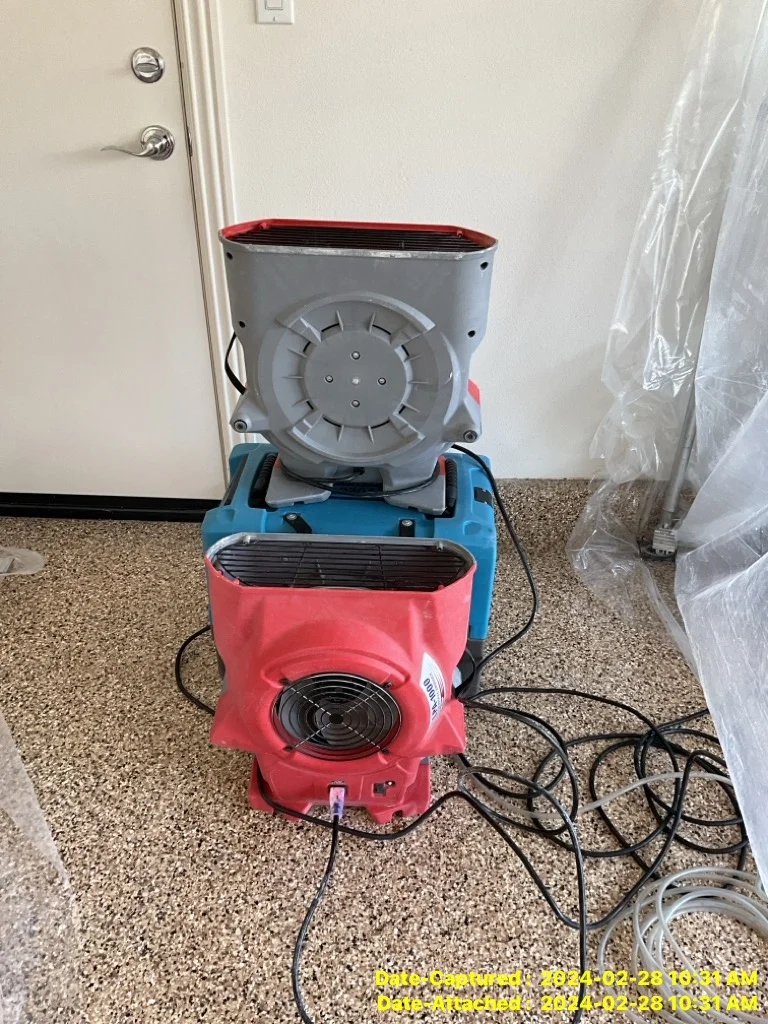
- Controlled dehumidification and airflow
- Daily monitoring and adjustments
- Documentation of moisture trend toward dry standard
Phase 3: Rebuild Coordination
- Scope confirmation after dry-down
- Material replacement planning
- Final quality and closeout review
Timeline Expectations
- Localized events: often shorter drying windows if caught quickly
- Multi-room events: longer dry and rebuild phases due to migration
For deeper timeline context, read How Long Does Structural Drying Take in North San Diego County Homes?.
Cost and Scope Drivers
What actually affects total cost:
- Duration of active water release
- Number of rooms/material systems impacted
- Hidden moisture under floors/walls
- Need for contamination controls
- Reconstruction complexity after dry verification
Related cost guide: How Much Does Water Damage Restoration Cost in San Diego County?.
Internal Links to Nearby Money Pages
- Water Damage Restoration in Oceanside
- Water Damage Restoration in Encinitas
- Water Damage Restoration in San Marcos
Mistakes to Avoid
- Waiting until water stops before calling mitigation
- Replacing materials before source and moisture verification
- Assuming one dry room means whole-home dryness
- Skipping documentation because damage seems obvious
Final Takeaway
The best burst-pipe outcome comes from rapid source control, structured mitigation, and documented drying verification. Fast action reduces loss severity and speeds return to normal use of your home.
Burst Pipe Recovery Checklist
- Main water shutoff confirmed
- Electrical risks isolated
- Loss documented with photos/video
- Source diagnostics scheduled
- Mitigation and drying logs started
Detailed Burst Pipe Timeline: What Homeowners Should Expect
A lot of stress comes from not knowing what happens next. A realistic burst-pipe project usually follows this sequence:
First 4 Hours
- Source water is shut off and active flow is stopped.
- Emergency extraction begins in all visibly affected rooms.
- Technicians check for immediate hazards (electrical, ceiling sag, slip risk).
- Initial photos and moisture readings are captured for scope and claim support.
First 24 Hours
- Hidden wet zones are identified in walls, flooring transitions, and cabinetry.
- Drying equipment is strategically placed and airflow paths are established.
- Salvageable vs. non-salvageable materials are identified.
- Communication starts with insurance and any required plumbing trade partners.
Days 2–5
- Moisture readings are taken daily and equipment is adjusted.
- Any additional affected areas discovered during drying are documented.
- Indoor conditions are controlled to reduce secondary damage risk.
Post-Drying
- Drying goals are confirmed before reconstruction planning.
- Repair scope is finalized, and replacement work is scheduled.
Insurance Documentation Checklist for Burst Pipe Events
For cleaner claim handling, keep this simple checklist:
- Timestamped photos before major cleanup
- Room-by-room list of impacted materials
- Receipts for emergency protective actions
- Moisture and drying records from the restoration team
- Written communication log with adjuster and contractors
Complete documentation reduces delays and helps avoid disputes over whether damage was pre-existing or secondary.
When to Escalate Immediately
Call for immediate professional escalation if you see any of the following:
- Water near panel boxes or active electrical components
- Ceiling sagging or bulging
- Fast-spreading moisture into multiple rooms
- Strong odor or contamination concerns
- Occupants with health vulnerabilities in affected areas
Homeowner Preparation Before Reconstruction Begins
Before repair work starts, confirm three things: the source problem is fixed, drying targets are met, and scope is fully documented. This avoids expensive reopen work.
A practical prep list:
- Confirm who is responsible for each rebuild line item.
- Match replacement materials with realistic availability timelines.
- Request written confirmation of dry verification before close-up.
- Keep one shared timeline for plumbing, mitigation, and reconstruction.
When these steps are skipped, projects often stall at the handoff between mitigation and rebuild.
Service-Level Quality Markers
If you want a smoother project, look for teams that provide clear daily updates, measured drying records, and written scope changes when new findings appear. The technical work matters, but communication discipline matters just as much for homeowner confidence.